My top Figma tips, tricks and plugins for designers

Are you a freelance UX UI designer that wants to create amazing experiences with ease? Well Figma is pretty much the ‘go to tool’ that has everything you need from robust design systems, design community, plugins, resources, real time collaboration, version control, prototyping, cloud based, no local files needed and it’s free (to a point).
Most useful keyboard shortcuts
- Scale – select all the objects, then hold K on your keyboard and drag.
- Lock – ‘Cmd + Shift + L’
- Hide – ‘Cmd + Shift + H’
- Colour pick – ‘Ctrl + C’
- Component panel – ‘Shift + I’
- Rename – select layers and hit ‘Cmd + R’
- Communicate – ‘/’ to cursor type to collaborators
Copy and paste
- Did you know you can copy and paste an item into multiple frames at once?
- Paste over selection – ‘Cmd + Shift + V’
- Paste and replace – ‘Cmd + Ctrl + V’
- Paste layer style – ‘Cmd + Alt + V’
Components
- Associate, text, colour and effects to a style
- Combine elements into a frame
- Wrap into a component – ‘Alt + Cmd + K’
- Name your components and organise with ‘/’
- Rename and create multiple components for speed
- Combine multiple components into a ‘variant’
- Name components ‘true’ and ‘false to get the ‘toggle switcher’ in the variant instance
- If you name a frame ‘icons’ all of the components in that frame will have a naming convention of – icons/name_of_component
Auto Layout
- Auto layout everything
- To auto layout a frame or group – ‘Shift + A’
- Think of auto layout as rows and columns
- Create elements in a frame that will stack horizontally or vertically
Set the constraints
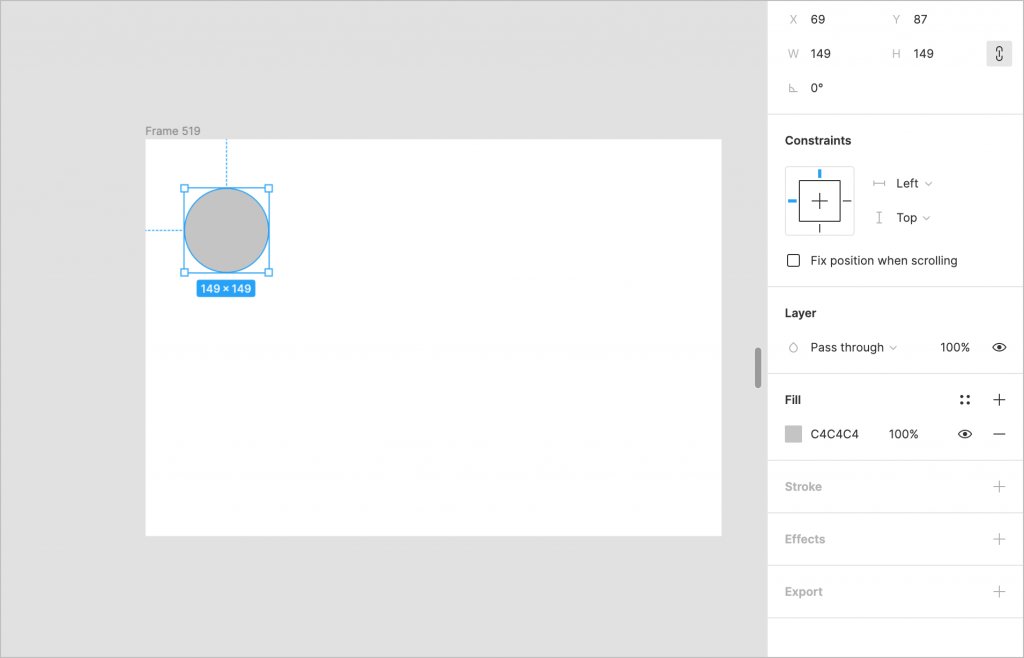
Before you create a component, decide how objects inside will respond – fixed position or move responsively?
Resizing
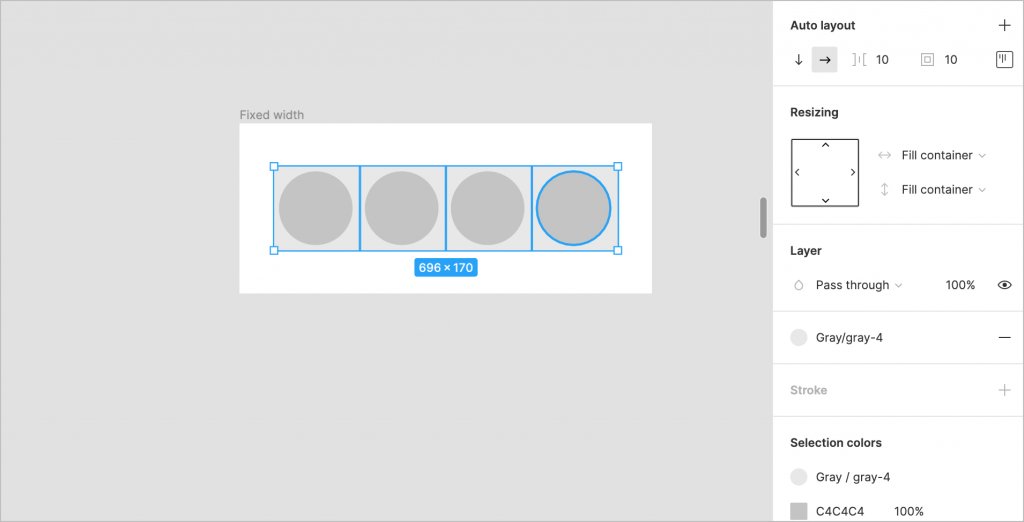
If the parent auto layout is a ‘Fixed width’ container, you can resize this frame and set the frames inside to ‘Fill container’ and they will auto fit (even if you duplicate more) this is handy when you have nav items or tags.
Spacing
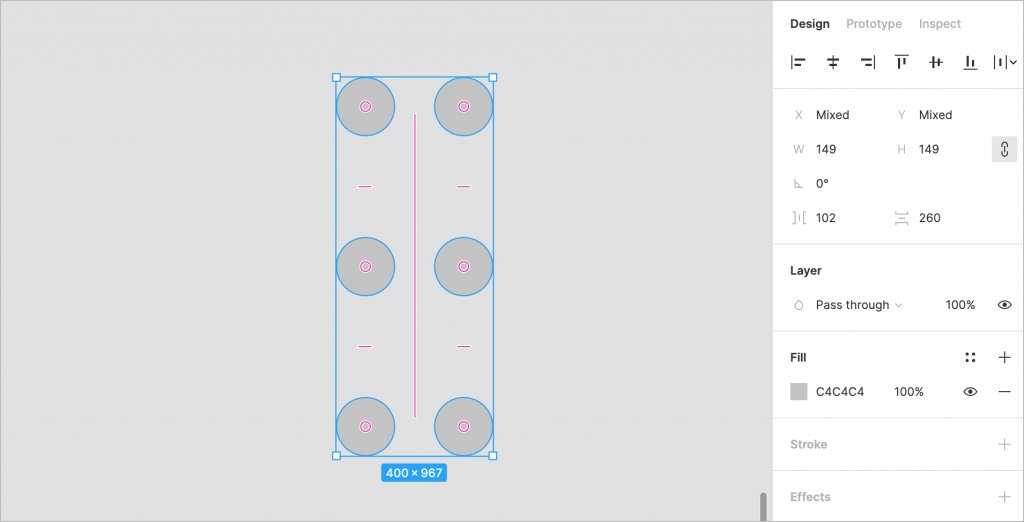
First off tidy up your objects – ‘Ctrl + Alt + T’ and distribute the horizontal and vertical spacing by scrubbing the pink line indicators on canvas or typing a value in the side panel.
Selection color
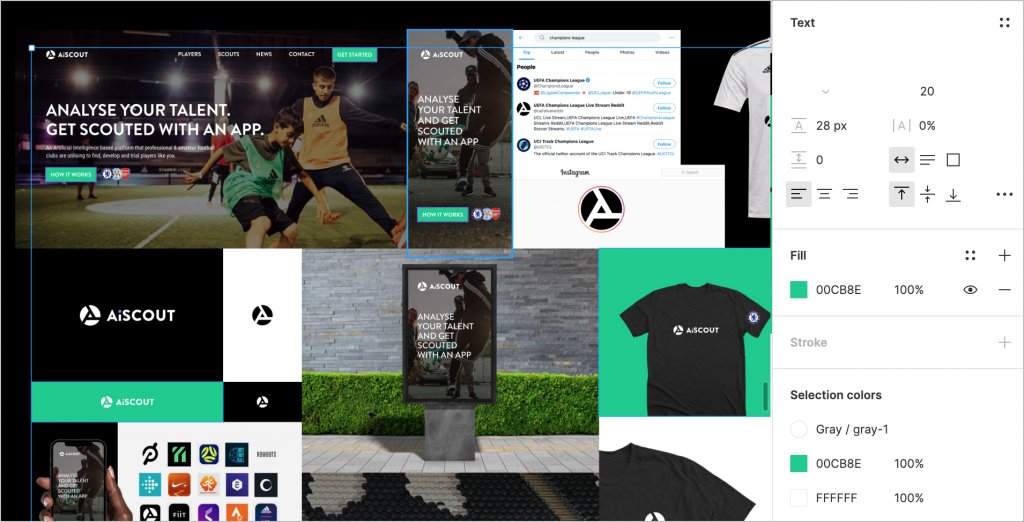
A big timer saver is using the ‘Selection colour’ tool. Select all the elements in a frame with the colour you want to change, hit that colour in the ‘Selection colours’ panel and either use the colour picker or choose a defined style to update it in just one click – love it!
Plugins worth having
- Remove bg – This is a really quite good and is very accurate, saves time in Photoshop.
- Batch styler – Change multiple text and colour styles quickly with this for your next project
- Mockuuups Studio – Super easy mockup generator with over 1000 various scenes available without leaving Figma.
- Isometric – Allows you to create isometric layers without manually having to set them up, good for UI presentations
- Clay Mockups 3D – Create mockups with 3D clay-style device models.
- Vimeo Record -The Vimeo Record plugin allows you to record your screen, webcam, or both directly from the files you’re collaborating on. Also I use Loom which isn’t so much a plugin but a great way to present and share ideas to cut down meetings.
- Blush – Create and customise illustrations in your designs with Blush. Just choose a collection, pick a composition, and place it on the canvas.
- Image Palette – Extracts a colour palette of 5 different colours from selected images. Great when creating a mood board
Closing thoughts
These are just the most common functions that I use inside of Figma but there are tons more. Let me know if I’ve missed a trick as I’d love to hear what you’ve got up your sleeve. There’s an earlier blog article I did on hacking prototypes with overlays and components which I think you’ll find useful, chow for now!!



2 Comments